Knowing how to clean a slush machine is very important to keep it running smoothly
Not cleaning the slush machine for a long time can result in bacteria and mold buildup. This not only lowers the quality of the drinks but can also damage the machine.
So, let’s make sure your slush machine doesn’t turn on you. I’ll walk you through two simple cleaning methods – a quick one for everyday and another for a deep cleaning.
Start Here: What to Read First?
How Often to Clean a Slush Machine?
A good rule of thumb is to clean your slush making machine after each use or at least by the end of the day. You must perform a deep cleaning once a week or after making 500 drinks.
Here’s a quick guide to cleaning your slush machine based on what you’re making:
- Sugar-based slushies with water: Clean it every two weeks.
- Fruit juice-based slushies: Aim for a weekly cleaning.
- For frappes like iced coffee or iced chocolate with milk: Clean it every 3-5 days.
1. How to Clean a Slush Machine – Quick Way
Quick cleaning means you don’t need to disassemble everything. You’re just cleaning the bowls from the inside. It’s a good daily practice to keep your machine in good condition and ensure your product stays fresh.
Empty the Machine First
Start by emptying the slushie machine of any remaining mix. Make sure it is completely drained.
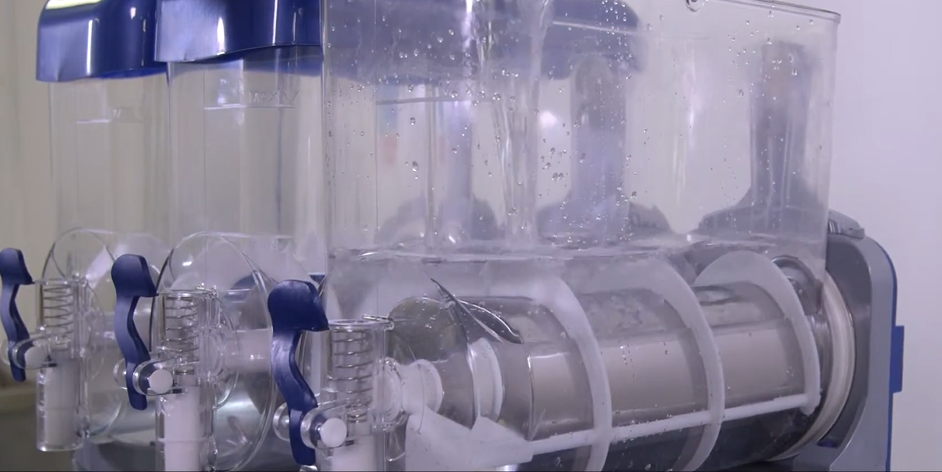
Add Water to the Bowl
Open the top of the machine and fill it with room temperature or slightly warm water. Do not use hot water as it may damage the cooling unit. You can add a little dish soap for cleaning.
Run the Machine
Switch on the machine, but don’t turn on the chilling function. Let it run for a few minutes until dish soap fully mixes and the water turns slightly colored.
Switch it off and drain the soapy water. Refill with clean water and repeat until the water is clear and no soap bubbles remain.
Dry the Bowls
Dry the bowls thoroughly with a clean cloth or paper towel. Avoid putting the lid back on immediately to prevent steam and bacteria growth.
2. Deep Cleaning a Slush Machine (Weekly Basis)
Deep cleaning involves disassembling the machine, thoroughly cleaning and sanitizing all its parts, and lubricating the seals if necessary.
It is important to do this every week to check for any wear and tear, replace parts as needed, and make sure the machine is properly cleaned.
Disassemble the Machine
Lift and remove the bowls from the machine. Then disassemble the dispensing handles, auger, drip tray, and any other removable parts according to the manufacturer’s instructions. Like here is the VEVOR machine instructions.
Clean the Parts
Clean all disassembled parts thoroughly inside and out. Sanitize the parts and apply food-grade grease to the seals, auger, and dispensing handles to keep them moving smoothly.
Reassemble the Device
Reassemble the parts in the reverse order of disassembly. Make sure everything is properly aligned and tight so the slushy mix doesn’t leak.